Linux Installation
This section will cover the installation of the CenterScape application server on the Linux Operating System.
Linux Installation Overview
The Linux distribution is in the form of a tar.gz archive with CenterScape binaries and either an included OpenJDK JRE or not if the NO JRE option is chosen. The application can be run from anywhere on the Linux file system but must be ran under a non-root account that will be referenced as the “service account”. Root access to the server is not required to install and run the application, but the service account must own the files provided with the install. The default account is named “rfcode” with group “rfcode”. Root may be needed to add the service account and the installation directory as it is in this documentation. No setup scripts are provided as the distribution is effectively Linux distribution agnostic. This Documentation will reference an install in the directory /opt/rfcode/centerscape but any valid directory with the correct permissions can be used.
Linux Install Procedure
-
Create a user account. The default is rfcode.
#useradd rfcode
-
Create the install directory
#mkdir -p /opt/rfcode/centerscape
-
Extract the software distribution
#tar -xvf rfcode-centerscape-1.8.1_AS_20240503_120033_P.tar.gz -C /opt/rfcode/centerscape
-
Allow execute permissions on rfccenterscape
-
Edit the rfccenterscape file at “/opt/rfcode/centerscape/rfccenterscape”
-
Set HOMEPATH to correct install directory
HOMEPATH=”/opt/rfcode/centerscape”
-
Set USERNAME to service account
USERNAME=’rfcode’
-
Set JRE_PATH to java path if using NO JRE distribution
-
-
Change ownership of CenterScape install directory to service account
#chown -R rfcode:rfcode /opt/rfcode/centerscape
-
Make rfccenterscape executable
#chmod U+x /opt/rfcode/centerscape/rfccenterscape
-
Run CenterScape
#cd /opt/rfcode/centerscape
#./rfccenterscape start
-
Verify that CenterScape is running
#ps -ef | grep java
Java process should be shown
-
Allow firewall access to ports 6580 for HTTP and/or port 6581 for HTTPS This will vary depending on Linux distribution
Connecting CenterScape to the Database Server from Linux Install
For SQL Server Authentication or PostgreSQL the form can just be filled out with the proper connection information. Once the information is entered click the test button to check the connection. If the test returns as successful then settings can be saved and the application server will restart and automatically populate the database. Click save changes to save the settings and restart the application server with the new database. CenterScape on Linux does not support Windows Authentication for SQL Server
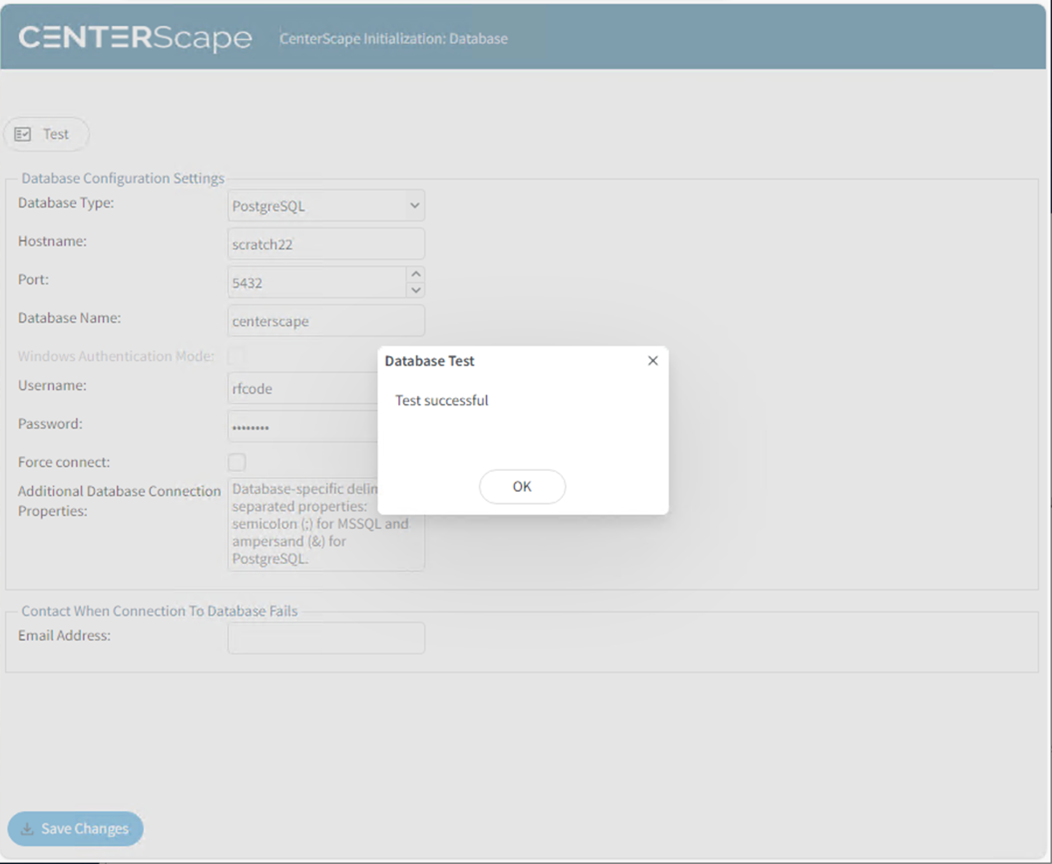
Note: A message may appear that the force connect box must be checked. This means that the previous or current CenterScape application server connected to this database from a different instance. If force connect is used the Application Server will take over the database and if there is another CenterScape application server currently connected it will be disconnected and placed in standby state.
Note: If an encrypted database connection is needed and a non-public encryption certificate is used, the keystore must be updated with an enterprise trust certificate that will authenticate the certificate of the database.